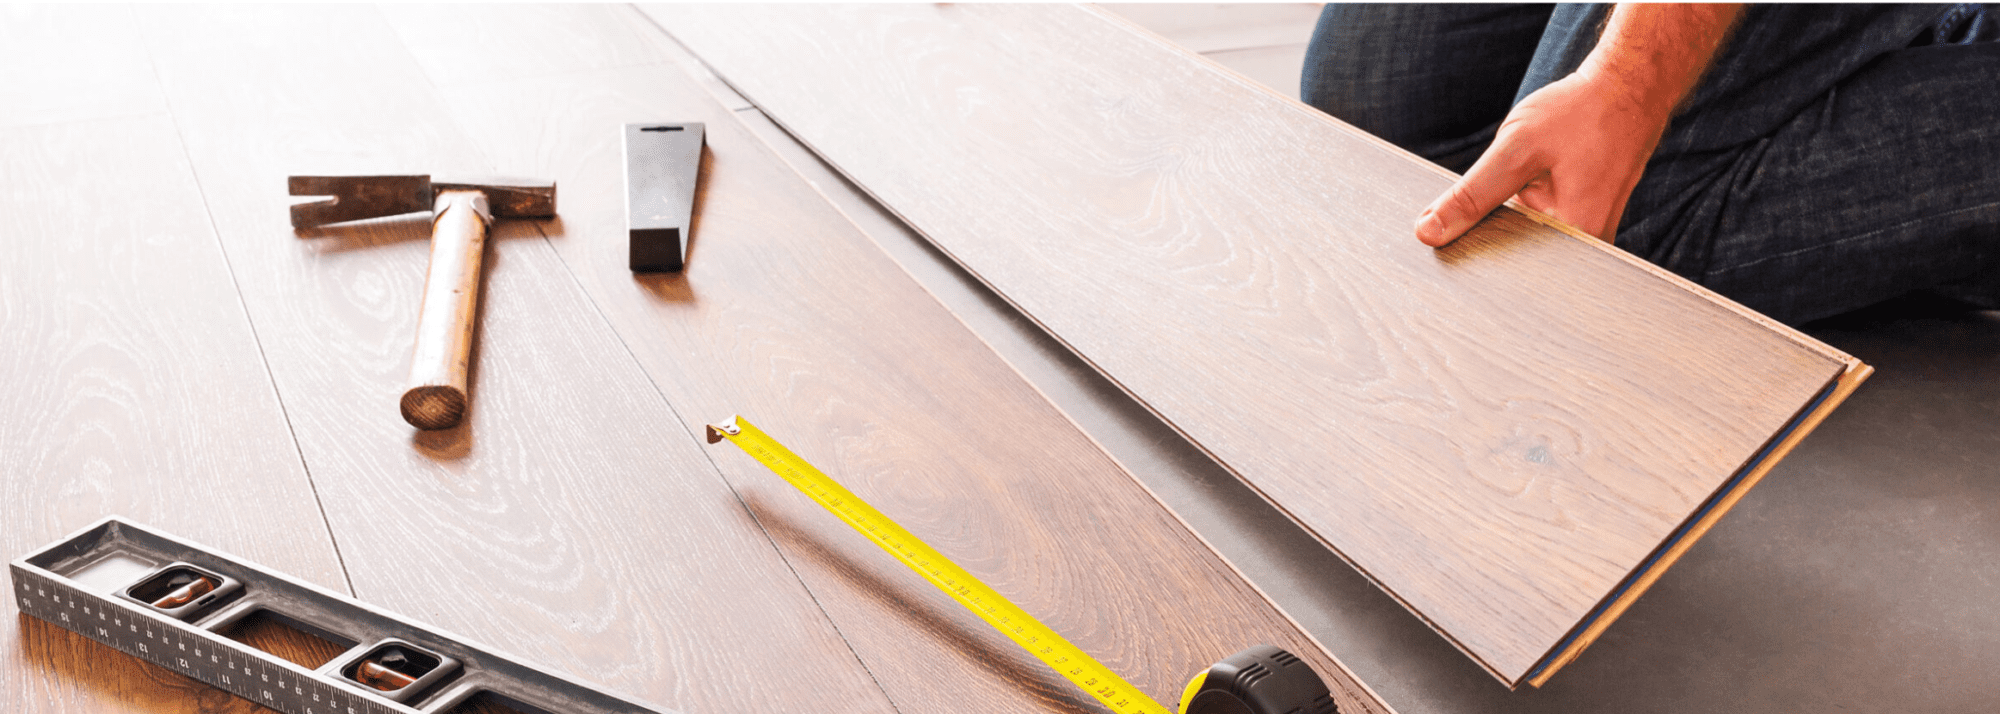
In order to produce the best results from installing engineered wood flooring, it’s vital you have the right tools and equipment. While the floor itself should be fairly straightforward to fit via tongue and groove or click system installation systems, the right accessories make all of the difference. So what accessories will you need to install your new floor?
Essential tools
The actual tools you need will depend upon the installation method you’re using. However, the main tools you should have at your disposal include:
- Straightedge
- Mitre saw
- Jigsaw
- Plaster trowel
- Utility knife
- Combination square
- Mallet
The straightedge will help to ensure the flooring is laid in a straight line. Similarly, the combination square helps to measure angles and determines flatness. Together they will help ensure your new floor looks straight and even.
A mitre saw and jigsaw are required to cut the floor to size. The mitre saw allows you to cut strips of the floor to length, while the jigsaw helps you trim pieces off so it will flow around vents and joints.
These are the most important tools you should have to hand when preparing for engineered wood flooring installation.
Other accessories required
As well as the tools above, you’ll also need a few other accessories. These include:
Underlay – Underlay is recommended for any engineered wood flooring installation. The right underlay can help to not only make installation easier but also provide a much more professional finish. It can also help to prolong the life of the floor. However, you need to make sure you’re choosing the right type.
If you’re installing on top of a moisture prone subfloor, you’ll need a moisture-proof underlay. If you’re installing on top of underfloor heating, you’ll need an underlay that is capable of withstanding high temperatures. So be sure to take into account the type of subfloor you’re laying your engineered wood flooring onto before choosing the best underlay.
Leveller/screed – Very few subfloors are perfect, but if you’re installing the floor on top of concrete, there may be large dips or uneven sections of the subfloor which need to be levelled out. A leveller/screed will help you to create an even surface required for stable installation.
Adhesive – If you’re gluing the floor down, you’ll need a specialised strong adhesive, along with a good quality trowel to apply it. You’ll need to follow the directions provided by the manufacturer. It’s also worth noting that with the glue down method, it’s also a good idea to use staples to hold the floor down until the glue dries.
Knee pads – Engineered wood floor installation requires a lot of kneeling. Therefore, we advise you to use comfortable knee pads to protect your knees throughout.
Wood profiles – There is a wide range of wood profiles available that are designed to leave a more professional finish. When you’re installing an engineered wooden floor, you are required to leave an expansion gap around the room. Scotia is an ideal option for covering up the gap, creating a more seamless finish. You’ll also need a profile if you’re connecting the floor to another type of floor in a connecting room, or to help cover up a gap created when installing via doorways.
Safety gloves and goggles – As you’ll likely need to cut off pieces of the wood, it’s advisable you wear protective goggles and gloves.
Overall engineered wood flooring installation is a lot easier if you have the correct tools. Whichever tools you need, always make sure you’re buying from a high-quality manufacturer. This will make all of the difference when it comes to improving the longevity of your new floor.