Pure Woods Essentials Herringbone 14mm x 90mm x 400mm Quercia RossaSURE0026
£41.99 m² Inc. VAT
£78.52 /pack
In stock

Need a sample?
Order up to 5 samples today
| Brand | Pure Woods |
|---|---|
| Range | Essentials Herringbone |
| Dimensions | 14mm x 90mm x 400mm |
| Board Edging | Microbevelled |
| Installation Method | Gluedown |
| Grading | Rustic Grade |
| Wood Species | Oak |
| Wood Surface Treatment | Brushed, Lacquered |
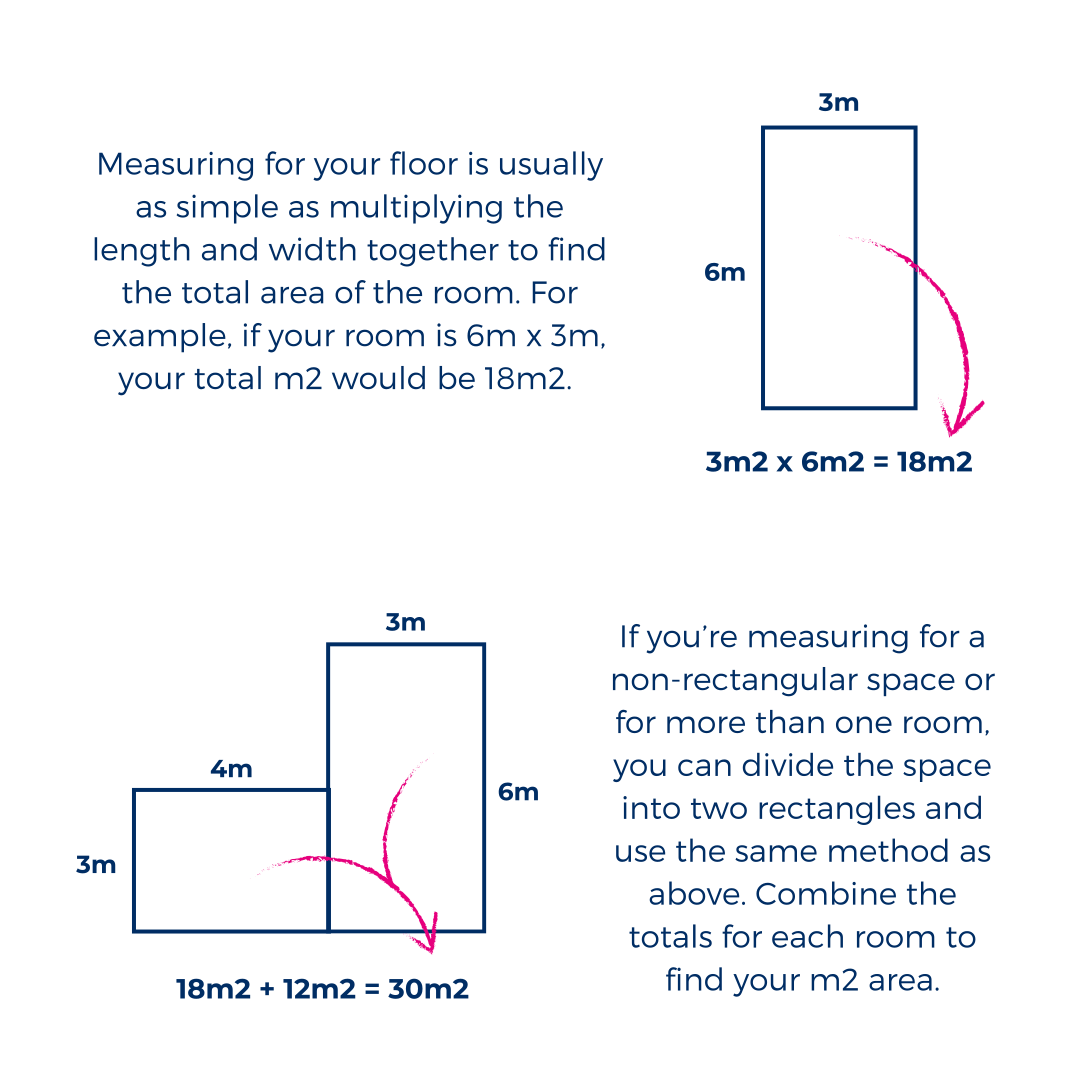
| Pack Size | 1.872m² |
| Surface | Nail Marks |
Product Description
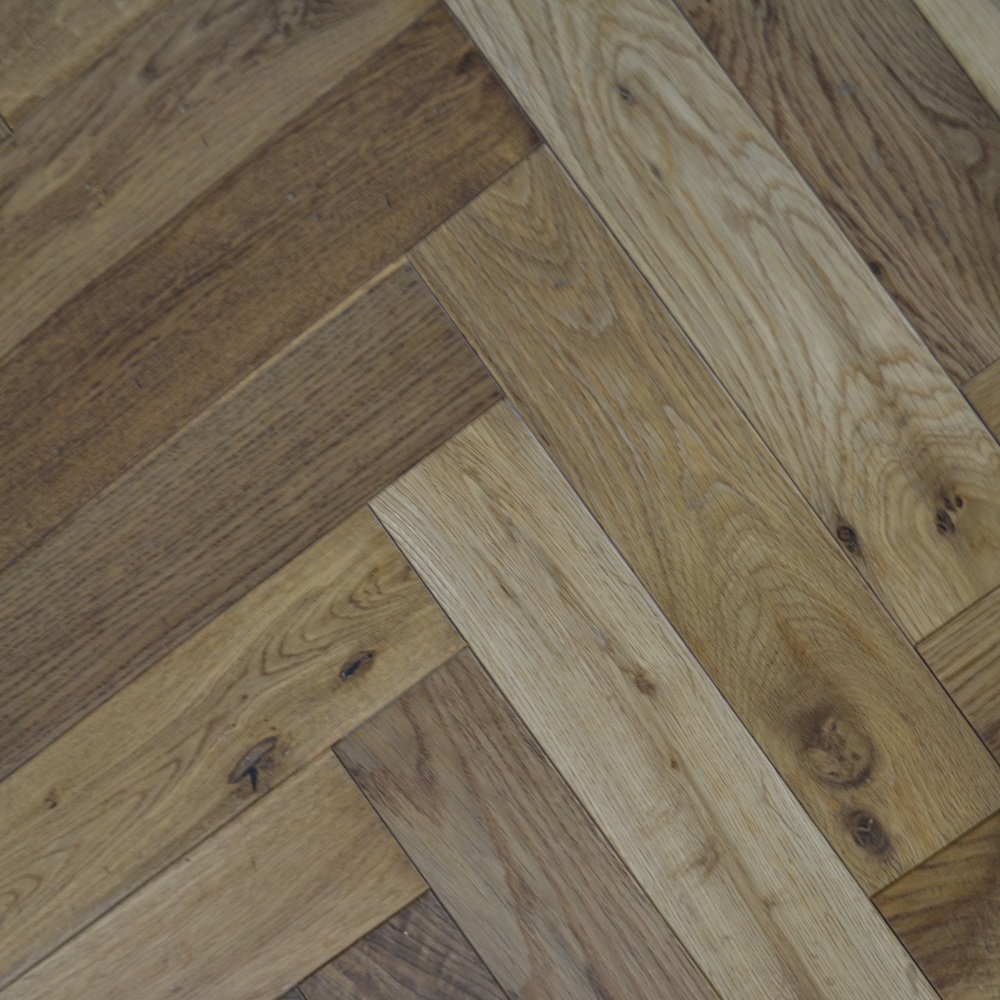
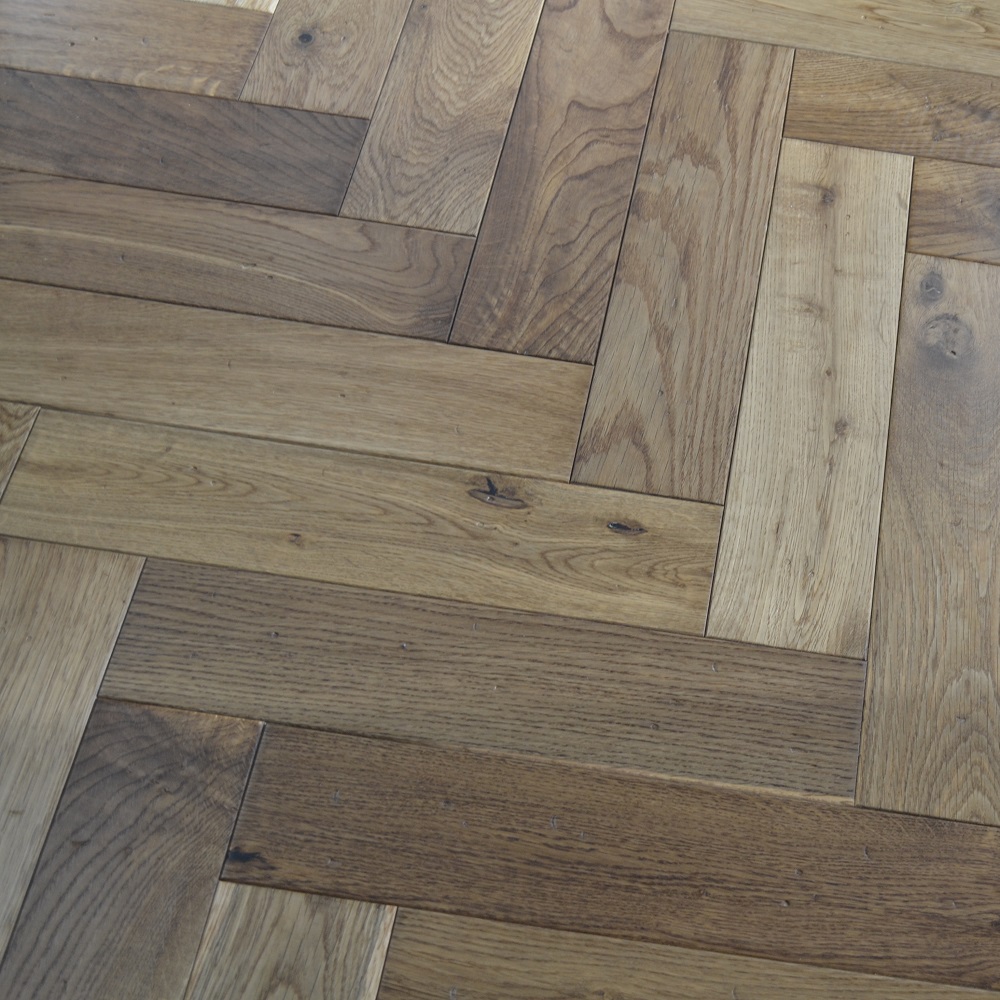
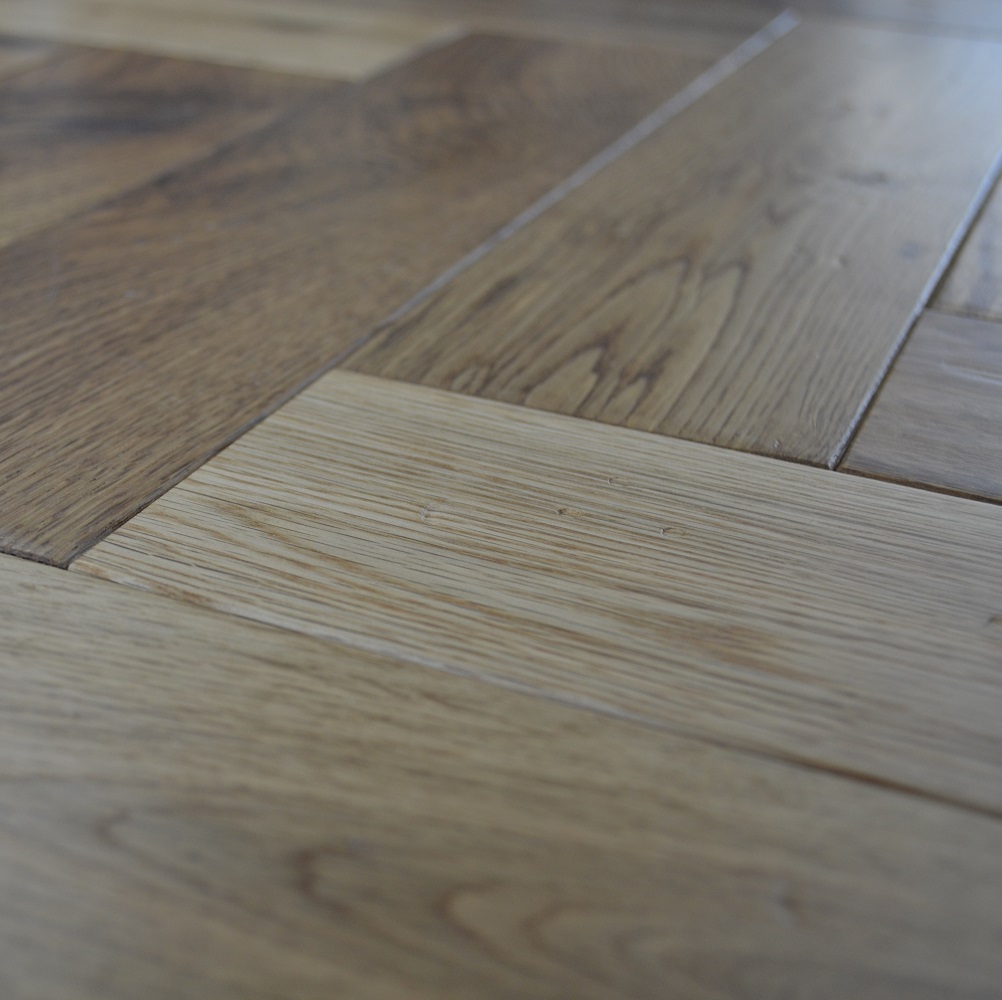
Introducing our Pure Woods 14mm x 90mm x 400mm Quercia Rossa Herringbone Flooring—a sophisticated and timeless choice for elevating your living spaces. Crafted with meticulous attention to detail, this Smoked, Soft Bevel, Nail Marks, UV Lacquered herringbone patterned flooring is designed to seamlessly blend tradition with modern aesthetics.
The 14mm thickness of this engineered oak herringbone flooring ensures durability and stability, providing a solid foundation for your interior decor. The 90mm x 400mm plank adds a touch of elegance, creating a sense of spaciousness in any room.
The brushed finish adds character by highlighting the natural grain of the wood, while the hard wax oil treatment enhances the texture and protects the surface from daily wear and tear. This results in a floor that not only looks stunning but also stands up to the demands of a busy lifestyle.
Whether you’re designing a classic, contemporary, or eclectic space, our Pure Woods Herringbone Flooring effortlessly complements a variety of interior styles. Elevate your home with the warmth, beauty, and enduring quality of Pure Woods—a choice that transcends trends and defines timeless elegance.
Pure Woods engineered wood flooring in a herringbone design combines the timeless elegance of a classic parquet pattern with the stability and reliability of modern engineered construction. Manufactured using a precision tongue-and-groove system, this floor provides a secure and long-lasting installation when fitted correctly.
Pure Woods herringbone flooring is recommended for installation by experienced DIYers or professional installers due to the precision required to achieve a balanced pattern. Please ensure all guidance below is followed to achieve the best possible result and maintain product performance.
Preparing for Installation
- Acclimatisation
Keep the flooring in its unopened packaging in the room of installation for a minimum of 48 hours before fitting. This allows the boards to adjust naturally to temperature and humidity levels. - Room conditions
The room must be fully enclosed, dry, and heated where required. Maintain a stable temperature and normal household humidity levels before, during, and after installation. - Subfloor requirements
Subfloors must be dry, clean, solid, and level. Uneven areas must be corrected prior to installation, as herringbone patterns require a particularly flat surface for best results. The floor can be installed over most hard subfloors once these conditions are met. - Pre-installation checks
All wet trades such as plastering, painting, or screeding must be completed and fully dry before installation begins.
Installation Method – Herringbone (Tongue & Groove System)
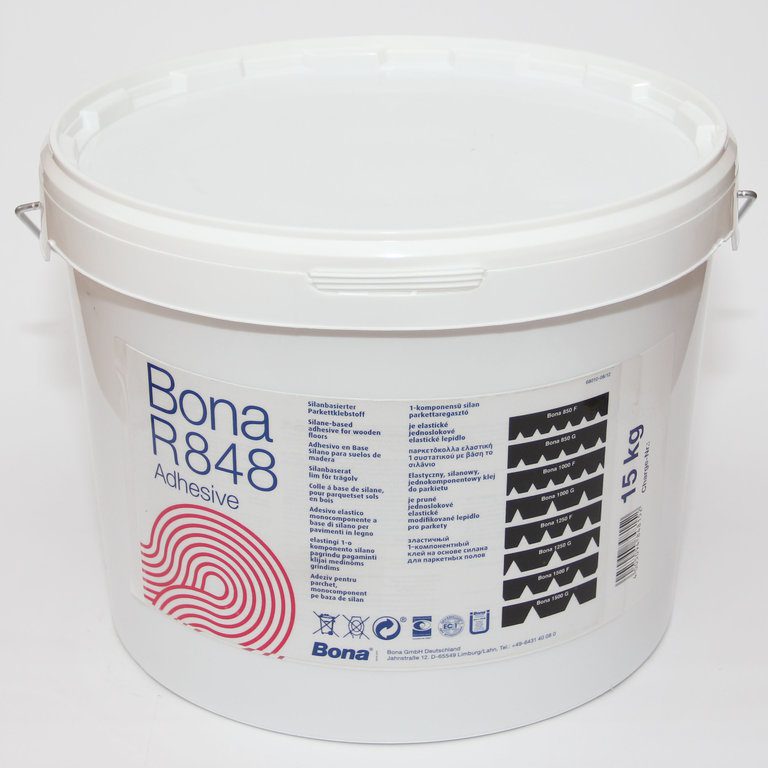
Pure Woods herringbone flooring uses a precision tongue-and-groove joint system. Depending on subfloor type and site conditions, boards are typically glued down using a suitable flexible wood flooring adhesive. Always follow adhesive manufacturer guidance.
Recommended tools:
- Tape measure and pencil
• Set square or chalk line (for accurate centre lines)
• Saw (hand or electric)
• Tapping block
• Pull bar
• Notched trowel (for adhesive application)
• Suitable wood flooring adhesive
Installation Overview
- Prepare the subfloor
Ensure the subfloor is clean, level, and dry. If glue-down installation is required, select an appropriate flexible adhesive. - Plan the layout carefully
Herringbone installation requires accurate setting out. Find and mark the centre line of the room using a chalk line. Establish a straight starting line to ensure the pattern remains balanced and symmetrical. - Create a starting triangle (zig-zag row)
Assemble several boards together to form the first herringbone “zig-zag” section. This starter row must be perfectly straight, as it sets the alignment for the entire floor. - Begin installation
Apply adhesive to a manageable area using a notched trowel. Lay the first assembled section carefully along your guideline. Continue building the herringbone pattern outward from the centre line or starting wall, ensuring each board is tightly fitted. - Maintain expansion gaps
Leave an expansion gap around the perimeter of the room and around fixed objects such as pipes or door frames. - Check alignment regularly
Frequently check that the pattern remains square and aligned. Small adjustments early on will prevent larger issues later. - Cut perimeter boards to fit
Measure and cut boards accurately to fit edges while maintaining the required expansion gap. - Finishing touches
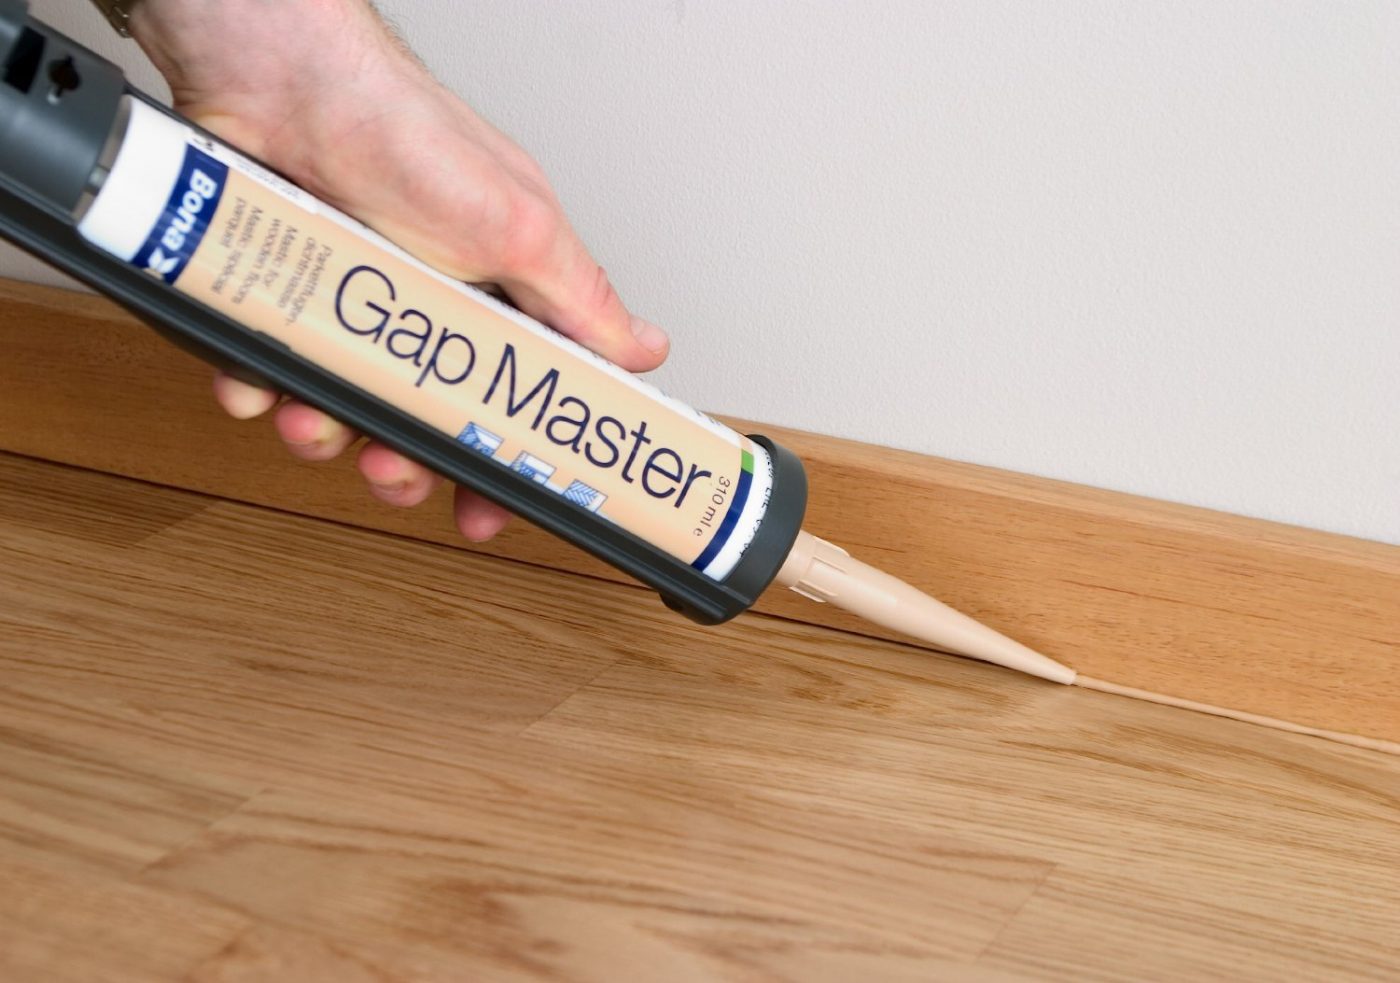
Allow adhesive to cure fully as per manufacturer guidance before fitting skirting boards or trims to conceal expansion gaps.


Got a question?
For free advice or more information, speak to a real specialist on 0113 831 4313



You may also like...
-
 Original price was: £70.99.£64.50Current price is: £64.50. m² Inc. VATQuickstepCascada
Wintry Forest Oak Extra Matt CASC3854
-
 Original price was: £70.99.£64.50Current price is: £64.50. m² Inc. VATQuickstepCascada
White Cappuccino Oak Extra Matt CASC6033
-
 £47.87 m² Inc. VATElka12.5mm Engineered
Harbour Oak
-
 £54.95 m² Inc. VATElkaWaterproof Engineered
Avon Oak