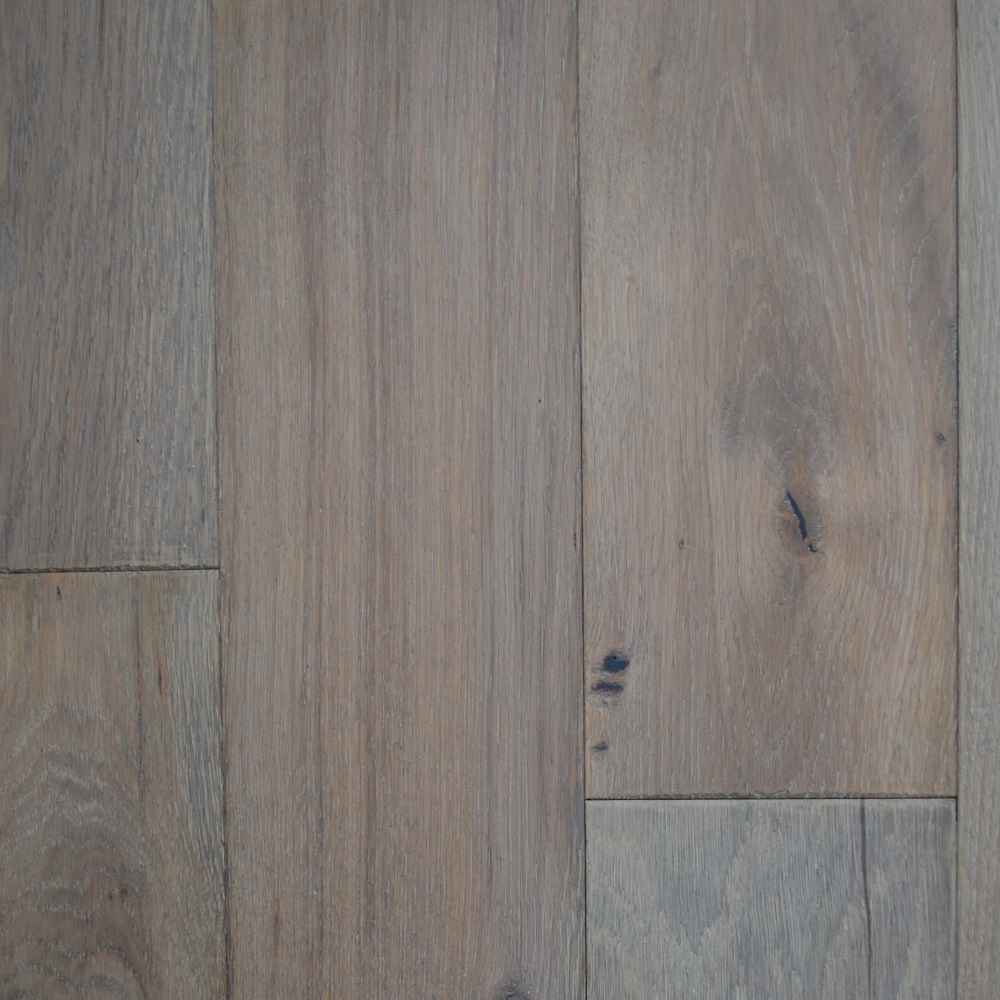
Pure Woods Essentials Plank 14mm Lime Wash Handscraped, Brushed, Distressed & Hardwax OiledSURE0027
£39.95 m² Inc. VAT
£57.53 /pack
Need a sample?
Order up to 5 samples today
| Brand | Pure Woods |
|---|---|
| Range | Essentials Plank |
| Dimensions | 14mm x 150mm x 300-1200mm |
| Board Edging | Microbevelled |
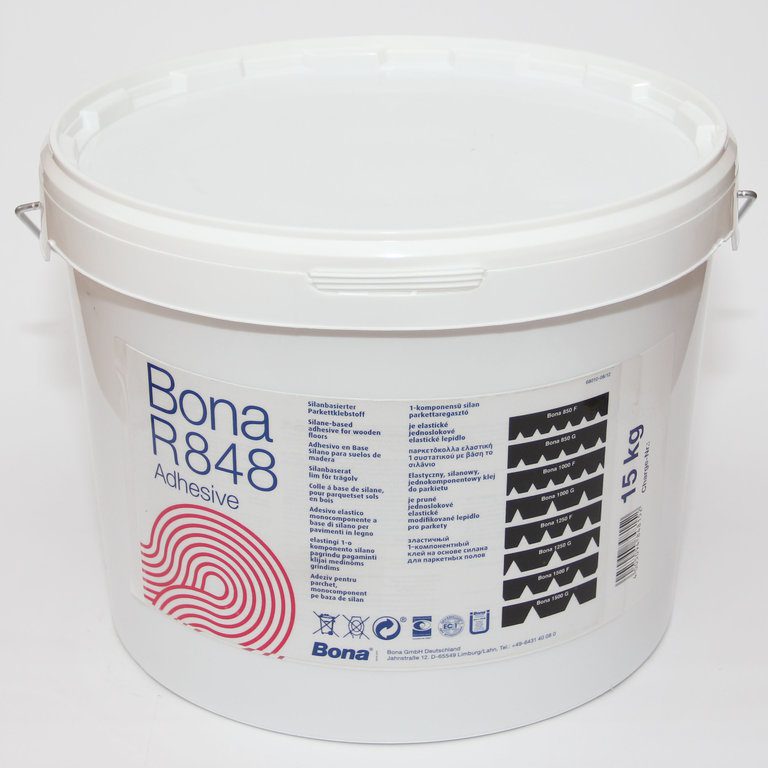
| Installation Method | Gluedown |
| Grading | Rustic Grade |
| Wood Species | Oak |
| Wood Surface Treatment | Brushed, Oiled |
| Pack Size | 1.44m² |
| Surface | Handscraped |
Product Description
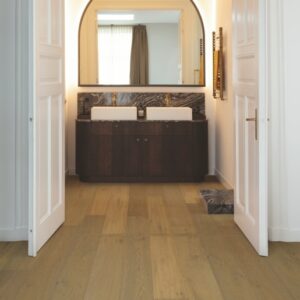
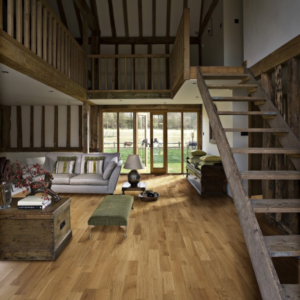
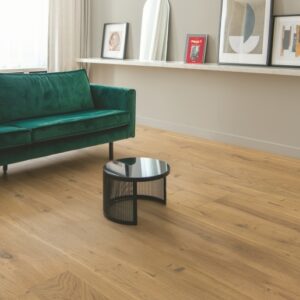
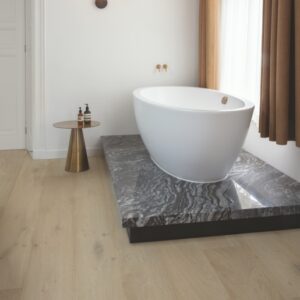
Introducing our Pure Woods 14mm x 150mm x 300-1200mm Lime Wash Flooring—a sophisticated and timeless choice for elevating your living spaces. Crafted with meticulous attention to detail, this Handscraped, Brushed, Distressed & Hardwax Oiled plank patterned flooring is designed to seamlessly blend tradition with modern aesthetics.
The 14mm thickness of this engineered oak plank flooring ensures durability and stability, providing a solid foundation for your interior decor. The 150mm x 300-1200mm plank adds a touch of elegance, creating a sense of spaciousness in any room.
The brushed finish adds character by highlighting the natural grain of the wood, while the hard wax oil treatment enhances the texture and protects the surface from daily wear and tear. This results in a floor that not only looks stunning but also stands up to the demands of a busy lifestyle.
Whether you’re designing a classic, contemporary, or eclectic space, our Pure Woods Flooring effortlessly complements a variety of interior styles. Elevate your home with the warmth, beauty, and enduring quality of Pure Woods—a choice that transcends trends and defines timeless elegance.
Pure Woods Engineered Wood Flooring – Installation Information
Pure Woods engineered wood flooring is designed to combine the natural beauty of real timber with modern installation convenience. Thanks to its engineered construction and click-fit system, it provides a stable, reliable flooring solution suitable for most homes.
Pure Woods floors can be installed by competent DIYers or professional installers. Before fitting, it is important that all guidance below is followed to achieve the best possible result and maintain product performance.
Preparing for Installation
- Acclimatisation
Keep the flooring in its unopened packaging in the room of installation for a minimum of 48 hours before fitting. This allows the boards to adjust naturally to their surroundings. - Room conditions
The room should be fully enclosed, dry, and heated where required. Ideal conditions are a stable temperature and normal household humidity. - Subfloor requirements
Subfloors must be dry, clean, solid, and level. Any uneven areas should be corrected prior to installation. Pure Woods flooring can be laid over most hard subfloors once these conditions are met. - Pre-installation checks
All wet trades such as plastering, painting, or screeding must be completed and fully dry before the floor is installed.
Floating Installation – Click System
Pure Woods engineered wood flooring uses a click-lock joint, allowing boards to connect securely without the need for glue. This floating installation method is quick, clean, and efficient.
Recommended tools:
- Tape measure and pencil
- Saw (hand or electric)
- Tapping block
- Pull bar
- Suitable underlay for engineered wood flooring
Installation Overview
- Ensure the subfloor is fully prepared and lay a suitable underlay, following the underlay manufacturer’s instructions.
- Plan the layout before you begin, typically installing boards in the direction of the main light source or longest wall.
- Start along one wall, leaving an expansion gap around the perimeter of the room.
- Connect boards by angling and clicking them into place, ensuring joints are tight and secure.
- Continue fitting row by row, staggering end joints for strength and visual appeal.
- Cut the final row to size, maintaining the required expansion gap.
- Finish by fitting skirting boards or trims to cover expansion spaces.
Got a question?
For free advice or more information, speak to a real specialist on 0113 831 4313

You may also like...
-
 Original price was: £70.99.£64.50Current price is: £64.50. m² Inc. VATQuickstepCascada
White Cappuccino Oak Extra Matt CASC6033
-
 £84.90 m² Inc. VATKahrsEuropean Naturals
Oak Verona Matt Lacquer
-
 Original price was: £65.99.£59.99Current price is: £59.99. m² Inc. VATQuickstepCascada
Desert Oak Extra Matt CASC5111
-
 Original price was: £70.99.£64.50Current price is: £64.50. m² Inc. VATQuickstepCascada
Light Storm Oak Extra Matt CASC5110
